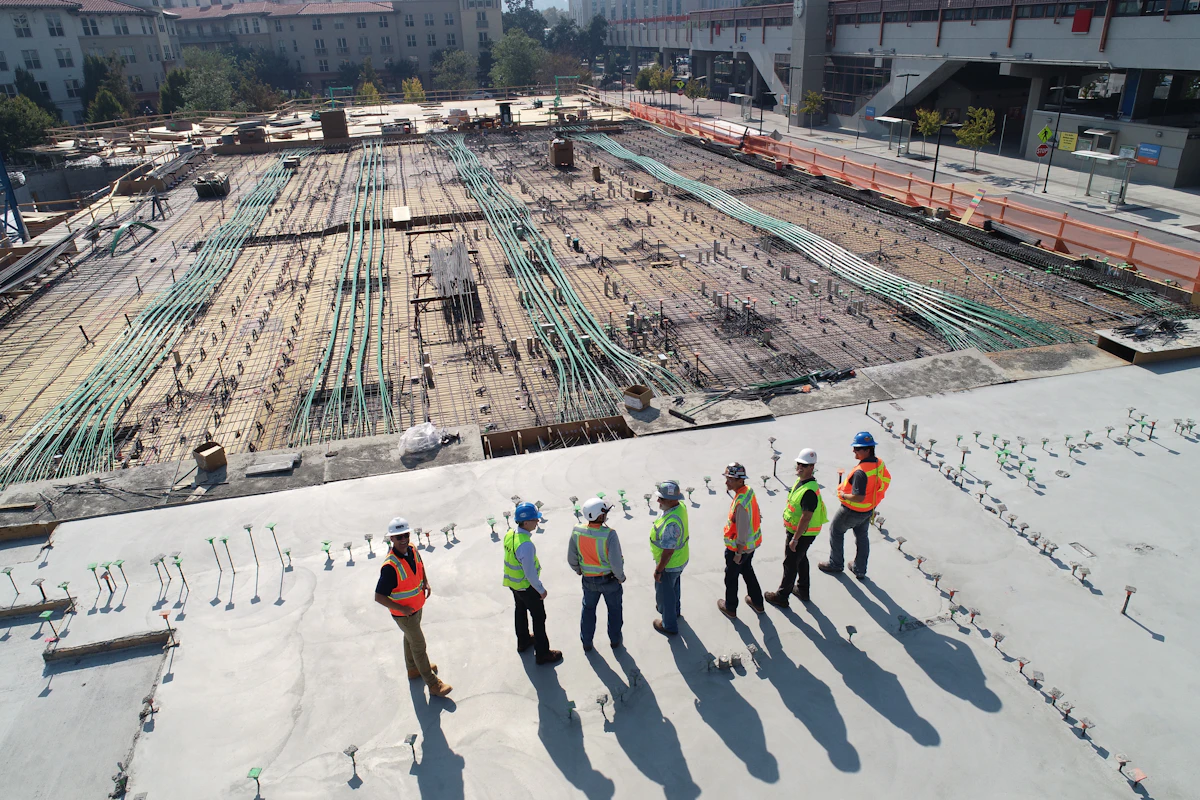
The house construction process in India runs through 12 broad stages, from checking the plot and getting drawings approved to the foundation, RCC frame, masonry, services, finishing and final handover. For a typical ground-plus-one home in Delhi NCR, the physical building work usually takes about 10 to 15 months, plus two to four months beforehand for design and approvals. This guide walks through each of the house construction stages in order, with what happens, what to check and how the budget flows, so you know exactly where your project stands at any point.
The 12 House Construction Stages at a Glance
Every site is different, but the sequence below holds for almost every framed RCC house. Durations are indicative for a 2,000–2,500 sq ft G+1 home built by a competent contractor with drawings finalised in advance; monsoon, material shortages and design changes stretch them.
| Stage | What happens | Typical duration |
|---|---|---|
| 1. Plot checks and soil test | Title, boundaries, levels, soil investigation | 1–3 weeks |
| 2. Design and drawings | Floor plans, elevation, structural and MEP drawings | 4–8 weeks |
| 3. Building plan approval | Sanction from the local authority | Varies by authority |
| 4. Budget, contractor and contract | BOQ, specification, rates, payment schedule | 2–4 weeks |
| 5. Site preparation and excavation | Clearing, layout marking, digging | 1–2 weeks |
| 6. Foundation and plinth | Footings, columns to plinth, plinth beam, DPC | 3–5 weeks |
| 7. RCC frame and slabs | Columns, beams and roof slab for each floor | 3–5 weeks per floor |
| 8. Masonry | External and internal walls, lintels | 4–8 weeks |
| 9. Services rough-in | Conduits, pipes, chases, door and window frames | 3–5 weeks |
| 10. Plaster and waterproofing | Internal and external plaster, roof and toilet waterproofing | 4–8 weeks |
| 11. Flooring, doors and finishes | Tiles or stone, shutters, windows, putty and paint | 6–10 weeks |
| 12. Fixtures, handover and certificates | Fittings, testing, snagging, completion or occupancy certificate | 3–6 weeks |
Some stages overlap on site: plumbing sleeves go in before slabs are cast, and masonry on the ground floor often starts while the first-floor slab is being shuttered. Overlap is how good contractors keep the house construction timeline in India realistic.
Stages 1–4: Before Anyone Picks Up a Shovel
The pre-construction stages cost the least but decide most of the final outcome.
- Plot checks and soil test. Verify ownership papers, measure the plot against the documents, note road level and drainage, and check what the local bye-laws allow on your plot. A soil investigation tells the structural engineer how much load the ground can take and at what depth, which drives the choice explained in our guide to house foundation types.
- Design and drawings. The architect prepares floor plans, elevations and sections, followed by structural drawings (footings, columns, beams, slabs, reinforcement) and electrical and plumbing layouts. Freeze the design here; changes later are the most expensive habit in home building. A complete set lets any contractor price the same house, which makes quotes comparable.
- Building plan approval. Submit drawings to the relevant authority (MCD, DTCP or the municipal corporation in Haryana, Noida or Greater Noida authority, GDA and so on). Timelines and fees vary by authority and by plot, so confirm on the official portal. Our building approvals team handles this across NCR.
- Budget, contractor and contract. Get a bill of quantities (BOQ) against a written specification, compare at least three quotes on the same basis, and sign a contract that fixes scope, rates, a stage-linked payment schedule, timeline and who supplies which materials.
Stages 5–6: Excavation, Foundation and Plinth
Once the approval is in hand, the site is cleared and levelled, and the contractor marks the column grid on the ground from the centreline drawing. The architect or site engineer should check this layout marking before digging starts; an error of a few inches here carries through the whole house.
Excavation follows to the depth specified by the structural engineer. Then comes a lean PCC bed, the footings with their reinforcement, column starters up to plinth, anti-termite treatment of the soil, the plinth beam and a damp proof course so ground moisture does not rise into the walls. That thin DPC layer is cheap now and very expensive to retrofit. Some authorities also require a plinth-level inspection or certificate before work continues, so check the conditions of your sanction.
What to check: footing sizes and depth against drawings, bar diameter and spacing, cover blocks under the steel, and proper compaction of plinth filling.
Stage 7: RCC Frame and Slabs
This is the heart of the structure. For each floor, the team raises the columns, then erects shuttering and props for the beams and slab, ties the reinforcement, places electrical conduits and plumbing sleeves, and pours concrete. The slab is then cured, usually by ponding or wet hessian, and props stay in place until the engineer allows removal.
- Insist on an engineer's check of reinforcement before every pour; photograph it for your records.
- Confirm concrete grade and mix, whether site-mixed or ready-mix.
- Do not rush de-shuttering to save time; early removal is a common cause of slab deflection and cracks.
A qualified structural engineer should design and supervise this stage; it is not a place for contractor thumb rules.
Stages 8–10: Masonry, Services and Plaster
Masonry. External walls are usually 9" brick or 8" AAC or concrete blocks; internal partitions 4.5" brick or thinner blocks. Lintels go over every door and window opening, and sill levels are fixed now. AAC blocks are lighter and faster to lay; red bricks are familiar to every mason and easy to chase for services.
Services rough-in. Electricians cut chases and lay conduits and switch boxes; plumbers lay supply and drainage pipes and pressure-test them. Door frames and window frames are fixed. This is the last cheap moment to move a switch, add a point or reposition a geyser; walk every room with the drawings.
Plaster and waterproofing. Internal plaster, then external plaster with grooves or bands as per the elevation. Toilets, balconies, the terrace and water tanks are waterproofed and water-tested before tiles cover them. Leaks traced after tiling mean breaking finished work, so never skip the ponding test.
Stages 11–12: Finishing, Handover and Certificates
Finishing takes longer than most owners expect because many trades work in sequence. Flooring and wall tiles go in, followed by door shutters, windows and grills, wall putty and primer, electrical wiring and switchplates, sanitaryware and CP fittings, and finally paint. Kitchen, wardrobes and false ceilings are usually coordinated with this stage if interiors are part of the project.
Before handover, do a room-by-room snag list: tile hollowness, slopes towards drains, door and window operation, every switch and socket, water pressure at every tap, and seepage marks after a full water test. Then the owner or architect applies for the completion or occupancy certificate required by the authority, and for permanent electricity, water and sewer connections.
How the Budget Flows Through the Stages
Construction cost in Delhi NCR in 2026 typically runs about ₹1,650–₹2,050 per sq ft for basic quality, ₹2,050–₹2,850 for standard and ₹2,850–₹4,200 for premium, adjusted by city (Gurugram about 1.08, Delhi 1.05, Noida 1.0). The table applies a typical stage split to a 2,400 sq ft standard-quality G+1 home at the midpoint rate of ₹2,450 per sq ft, about ₹58.8 lakh at Noida rates.
| Stage group | Share of cost | Example (₹58.8 lakh home) |
|---|---|---|
| Foundation and plinth | 12% | ₹7.1 lakh |
| RCC frame and slabs | 23% | ₹13.5 lakh |
| Brickwork and plaster | 14% | ₹8.2 lakh |
| Flooring and tiling | 11% | ₹6.5 lakh |
| Electrical | 7% | ₹4.1 lakh |
| Plumbing and sanitary | 8% | ₹4.7 lakh |
| Doors, windows and grills | 9% | ₹5.3 lakh |
| Painting and finishing | 8% | ₹4.7 lakh |
| Contingency and misc. | 8% | ₹4.7 lakh |
Roughly half the money is spent by the time the walls are plastered, which is why payment schedules should be tied to completed stages, not dates. Design fees, approvals, boundary wall, borewell, interiors and GST sit outside this figure. Run your own numbers with our construction cost calculator, and see house construction cost per sq ft for the full breakdown. If you are financing the build, banks typically release a construction loan in tranches linked to these same stages.
Common Delays and How to Avoid Them
- Design changes mid-way: each change ripples through structure, services and finishes. Finalise drawings before excavation.
- Late material decisions: choose tiles, sanitaryware, windows and doors while the frame is going up, not when the tile layer is waiting.
- Monsoon: plan excavation and foundations before the rains where possible; slabs can be cast in monsoon with care, but earthwork suffers.
- Cash-flow gaps: keep a contingency of at least the 8% shown above, and do not let running bills run ahead of work done.
- No supervision: an absent owner and an unsupervised contractor is the most common route to hidden defects.
A house is built twice: once on paper and once on site. The better the paper version, the shorter and cheaper the site version.
Build With a Clear Plan From Day One
Panache Architect handles the full house construction process across Gurugram, Delhi, Noida, Faridabad and NCR, from soil test and drawings to approvals, stage-wise supervision and handover. Our project management team tracks quality, cost and timeline at each of the 12 stages so nothing is left to chance. Book a free consultation or site visit and get a stage-wise plan and estimate for your plot.